Learn to Convert your Bike to A Trike
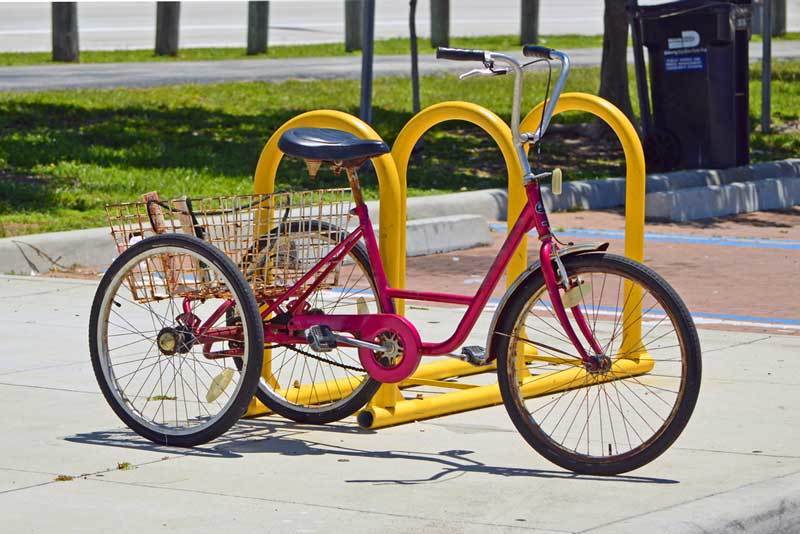
Adult tricycles have some advantages over traditional bicycles. They tend to be more comfortable on the joints and muscles, particularly for people with knee issues, and make great commuter bikes since they offer plenty of space for carrying cargo.
Plus, adult tricycles can be easily customized to match your tricycle to your own style.
For the best adult tricycle style statement, why not make your own tricycle?
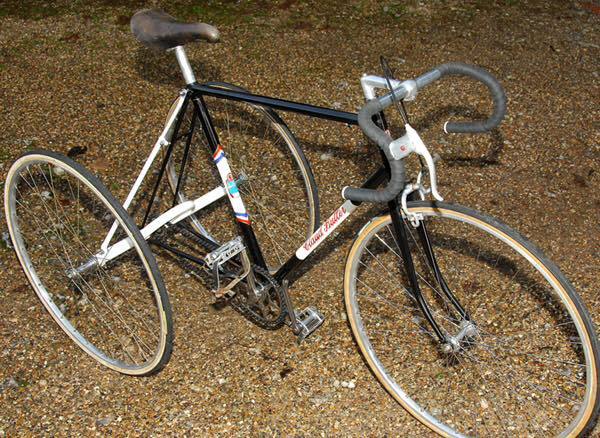
Making a tricycle is not as hard as you might imagine, especially if you are converting an existing bicycle to a tricycle or recycling old bike parts into a tricycle.
In this article, we’ll show you how to take old bike parts to make your own adult tricycle.
Before Starting
While you won’t need welding skills to make this project a reality, you will need a good workspace filled with power tools.
Among other tools, you’ll want to have on-hand a hacksaw, a rotary drill or Dremel, and a power drill. You’ll also need a few specialized bike tools like a chain tool and chain whip and an Allen key set.
As for the recycled bikes that will be used to make your tricycle, the easiest way to get started is to purchase three well-used bicycles.
You will want to make sure that at least two of the bikes are the same frame size since you will need the rear triangles to match for the rear portion of your tricycle.
However, you won’t need all the parts from each of the bicycles, so if you have access to bicycle parts continue reading to see exactly what you’ll need.
The Front
The easiest way to construct the front of the bike is to use the front of an existing bike.
This preserves the steering and the front brake as it was designed on the original bike.

You don’t even need to do much cutting on this bike since the rear triangle will also remain intact.
While you’ll want to take the bike seat off so you can see ahead of you, cutting off the seat post with a hacksaw is optional as long as you leave the rest of the frame structurally intact.
Pro Tip:
Choose a used bike for the front of your tricycle based on the number of gears you want on your tricycle, and that has flat handlebars rather than traditional road bike drop bars. This will save you a lot of work of changing out the handlebars and replacing the shifting mechanism later.
The Rear Sections
The rear sections of your tricycle will be made from the matching rear triangles of two bikes that are the same frame size.
This is where your hacksaw will come in handy since the first step will be to cut off all of the frame forward of the seat post and to cut the seat post down to where it meets the frame.
You’ll also need some wood for this step to make a base that the rear triangles and your seat will rest on top of.

While this can be merely a rectangular piece of plywood, cutting it into a shape and width that matches your tricycle will make it more rideable when the time comes.
Use a set of U-clamps and a power drill to screw the rear triangles, right side up, into the wooden base.
At this point, you can also U-clamp the lower rear fork of the front bike onto this base so that it extends as far as the front of the rear triangles.
Gearing
To set the gearing, you’ll need a chain tool to combine the chains of two of the bikes to create a longer chain than on a standard bicycle (or buy new chains if they are heavily worn).
This chain will need to connect the front crank on the forward bike to a jackshaft that will run between the two rear triangles – you’ll need to purchase a pipe from the local hardware store to serve as this jackshaft.

Add a cog from the remains of the front bike to this jackshaft to allow the chain to transfer power from your crank to the jackshaft.
Then add the second cog on the right side of the jackshaft and use the second chain to connect this to the existing cassette on the right-side rear wheel.
Note that this will distribute power only to one wheel, which may not provide the best handling in wet conditions or on a slick road.
Brakes
If you left the front brake intact, you already have one brake in place.
However, you need to reconnect at least one rear brake by running a brake cable from the rear brake handle on the front bike to the existing caliper brake on either of the rear brakes. This should be relatively straightforward as it does not differ much from the way that brake cables are connected on a traditional bicycle.
Pro Tip:
For an extra engineering challenge and better braking overall, ditch the front brake and opt for a brake lever that will clamp down the brakes on both rear wheels simultaneously. For this to work, you will need to design a mechanism that allows a single brake lever to activate two distinct brake lines equally, which takes some trial and error in your brake wiring.
Seat
At this point, the only thing your tricycle is missing is a seat.
While you could sit directly on the plywood base you made, why not opt for something more comfortable with a seat back?
The cheapest and easiest solution is to cut the legs off of a metal patio chair, although you could also opt to use a stadium seat or kayak seat since these also offer cushioned bases with backs.
Safety Notes
Building your own tricycle is quite the achievement and one that you can ride around town with pride.
However, do note that without welding metal parts together, the frame holding your tricycle is not as stable as a store-bought tricycle or bicycle.
This means that you won’t want to take your tricycle up to high speeds going down hills or around turns, and if you do not have dual-rear-wheel braking, you will want to be extra careful about leaving yourself plenty of stopping distance. Building your own adult tricycle from recycled bike parts is surprisingly easy with just a few power tools and some sweat equity.

Compared to buying a tricycle at the store, building your own is significantly cheaper and allows you to express your own style in your build. Plus, there are few things as gratifying as planning a tricycle and seeing it come to life.

